
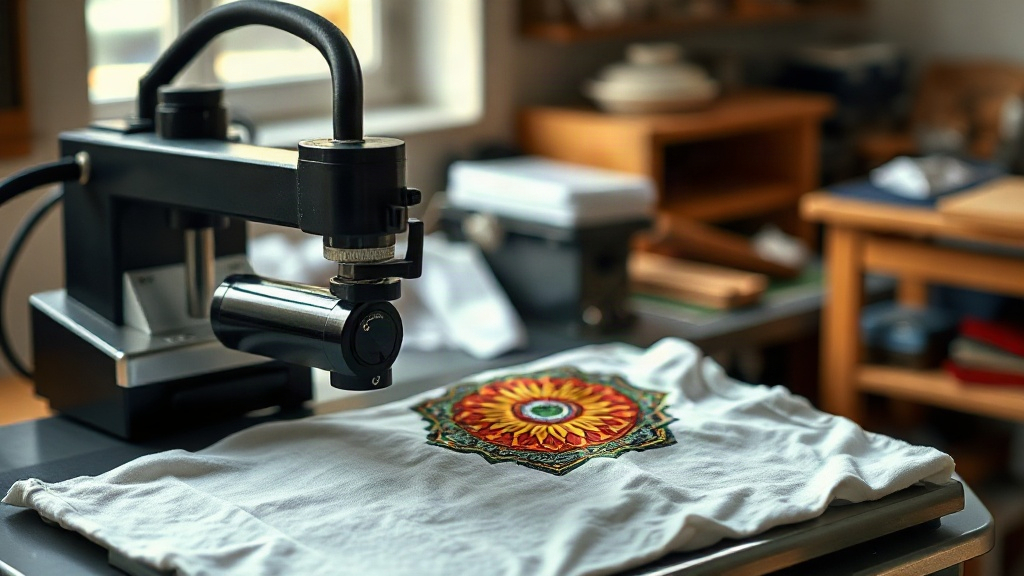
When you first hear about DTF Transfers, you might wonder how they differ from the vinyl or screen-printed shirts you've seen before. DTF stands for Direct-to-Film, a printing method that has rapidly gained popularity among crafters and small business owners. Unlike traditional techniques, DTF transfers allow you to print full-color designs onto a special film, then heat-press them onto various fabrics. The result is a soft, stretchable, and incredibly durable print that withstands repeated washing. In this guide, I'll walk you through everything you need to know to get started with DTF transfers, from understanding the technology to mastering application. Whether you're a hobbyist or running a print shop, these insights will help you achieve professional-looking results.
What Are DTF Transfers and How Do They Work?
DTF transfers are created by printing a design onto a PET film using specialized inks and a powder adhesive. The process begins with a digital printer that lays down CMYK and white inks. After printing, a hot-melt powder is applied to the wet ink, which later becomes the adhesive that bonds the design to the fabric. Once the powder is cured, the transfer is ready to be stored or used immediately. When you're ready to apply it, you simply place the transfer on your garment and apply heat and pressure with a heat press. The adhesive melts, fusing the design to the fabric. After cooling, you peel away the film, leaving a vibrant, flexible print. This method works on cotton, polyester, blends, and even treated nylon, making it incredibly versatile.
Why Choose DTF Transfers Over Other Methods?
If you've tried other printing methods, you know each has its quirks. DTF transfers stand out for several reasons. First, they require no weeding or cutting, saving you hours of tedious work. Second, they produce full-color images with fine details and gradients, which are difficult with vinyl. Third, DTF prints are extremely durable; they won't crack, peel, or fade easily if applied correctly. Additionally, DTF transfers can be used on dark and light garments without needing separate pretreatment. The white ink layer ensures opacity on dark fabrics, while the color layer remains vibrant. For small businesses, DTF offers a low-cost entry into custom apparel because you don't need screens or expensive equipment beyond a printer and heat press.
Comparing DTF to DTG and Screen Printing
Direct-to-garment (DTG) printing is another popular method, but it requires pretreating the shirt and works best on 100% cotton. DTF, on the other hand, adheres to many materials and doesn't need pretreatment. Screen printing is cost-effective for large orders but impractical for small batches or complex designs. DTF bridges the gap, offering the detail of DTG with the versatility of screen printing. However, DTF transfers have a slightly thicker feel than DTG, though still soft compared to vinyl. Each method has its place, but DTF is a fantastic all-rounder for custom apparel.
Step-by-Step Guide to Applying DTF Transfers
Applying DTF transfers is straightforward, but following precise steps ensures a long-lasting result. Here's how to do it right.
1. Prepare Your Workspace and Materials
You'll need a heat press, your DTF transfer, a garment, and a protective sheet (like parchment paper or Teflon). Ensure your heat press is stable and at the correct temperature. I recommend a temperature between 325°F and 350°F (160°C to 175°C). Pressure should be medium to firm, around 4-6 on a 1-10 scale. Always test with a scrap fabric first to dial in your settings.
2. Pre-Press the Garment
Pre-pressing removes moisture and wrinkles, which can interfere with adhesion. Press the garment for 5-10 seconds at the application temperature. This step is often overlooked but makes a big difference in print quality.
3. Position the Transfer
Place the DTF transfer on the garment with the printed side facing up. The film backing should be on top. Use heat-resistant tape if needed to keep it in place. For multi-color designs, ensure alignment is correct before pressing.
4. Apply Heat and Pressure
Close the heat press and apply pressure for 10-15 seconds. The exact time depends on your press and the transfer size. For larger transfers, you might need 15-20 seconds. Avoid excessive pressure, which can cause the ink to spread.
5. Peel the Film
DTF transfers are typically cold peel, meaning you wait until the transfer cools down before removing the film. Some newer films are hot peel, but cold peel is more common. Gently peel the film from one corner. If the design lifts, press again for a few seconds.
6. Post-Press for Durability
For extra durability, cover the print with a protective sheet and press for another 5-10 seconds. This step embeds the ink into the fabric fibers and improves wash resistance.
Common Mistakes to Avoid with DTF Transfers
Even with the best intentions, beginners often make mistakes that lead to poor adhesion or premature fading. Here are the most common pitfalls and how to avoid them.
- Incorrect temperature: Too low, and the adhesive won't melt; too high, and the film may scorch. Always follow the transfer supplier's recommendations.
- Insufficient pressure: Without enough pressure, the design won't bond properly. Adjust your press until you feel firm resistance.
- Peeling too early: If you peel while hot, the design may stretch or lift. Wait until it's completely cool.
- Using the wrong fabric: While DTF works on many materials, fabrics with heavy coatings or waterproof finishes may repel the adhesive. Test first.
- Storing transfers improperly: Keep DTF transfers in a cool, dry place away from direct sunlight. Humidity can ruin the powder adhesive.
Tips for Getting Professional Results
After countless applications, I've picked up a few tricks that elevate your DTF game. First, always use a quality heat press; irons are unreliable for consistent results. Second, invest in a good temperature gun to verify your press's actual temperature. Third, for stretchy fabrics like spandex, use a lower temperature and slightly longer press time to allow the adhesive to flex. Fourth, when layering multiple transfers, press each layer separately for 5 seconds before the final press. Finally, wash garments inside out in cold water and avoid fabric softeners, which can degrade the adhesive over time.
Frequently Asked Questions About DTF Transfers
How long do DTF transfers last?
With proper application and care, DTF transfers can last as long as the garment itself. They withstand dozens of washes without cracking or fading. Following the post-press step and washing inside out will maximize longevity.
Can I use DTF transfers on 100% polyester?
Yes, DTF transfers work great on polyester. However, polyester requires a lower temperature (around 300°F) to avoid dye migration. Use a low-temperature adhesive powder if you're printing your own transfers.
Do I need a special printer for DTF transfers?
You can convert an Epson printer with DTF inks and a bulk ink system, or buy a dedicated DTF printer. For beginners, purchasing pre-printed transfers from a supplier like DTF Core is more cost-effective and requires less setup.
What is the difference between hot peel and cold peel DTF transfers?
Hot peel transfers are removed immediately after pressing while still hot, saving time. Cold peel transfers must cool completely before peeling, offering a slightly softer finish. Always check which type you have, as using the wrong method can ruin the print.
Can I stretch the garment after applying a DTF transfer?
Yes, DTF transfers are flexible and will stretch with the fabric without cracking, provided they were applied correctly. This makes them ideal for athletic wear and stretchy materials.