
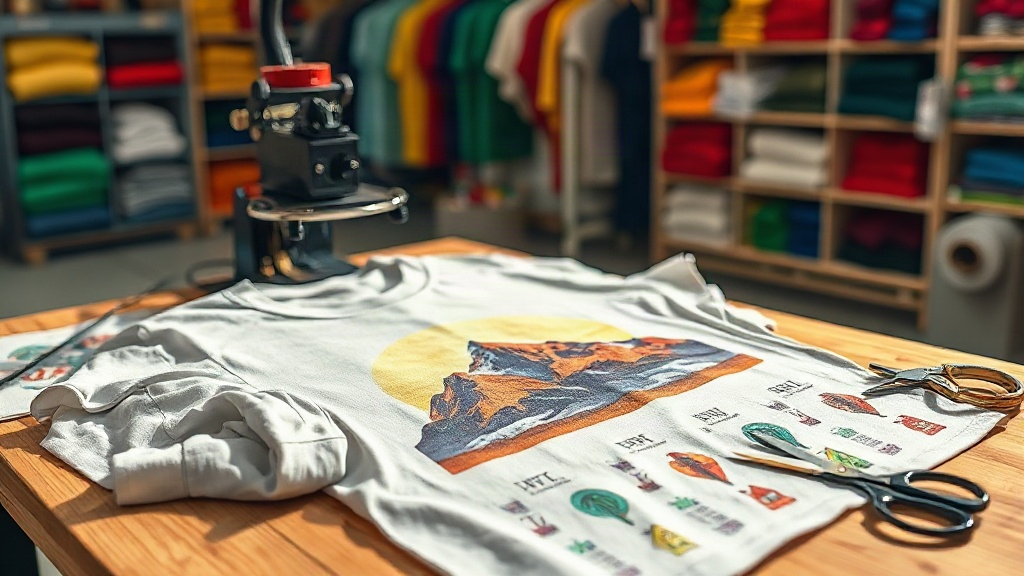
Imagine pressing a button and watching a vibrant, full-color design appear on a cotton t-shirt, a polyester tote bag, or even a nylon jacket. That's the magic of DTF Transfers. Unlike traditional screen printing or vinyl, DTF (Direct to Film) transfers offer unmatched versatility and simplicity, making them a favorite among hobbyists and professional decorators alike. If you're new to the world of DTF, this guide will walk you through everything you need to know to get started and achieve professional-looking results.
What Exactly Are DTF Transfers?
At its core, a DTF transfer is a printed design on a special film that can be heat-pressed onto fabric. The process begins with a digital printer that uses special DTF inks (usually CMYK plus white) to print your design onto a PET film. While the ink is still wet, a fine layer of hot-melt adhesive powder is applied, then cured. This creates a flexible, durable transfer that can be stored and used later. When you're ready, you simply heat press the transfer onto your garment, peel off the film, and voilà, your design is permanently bonded to the fabric.
Why Choose DTF Over Other Methods?
DTF transfers stand out for several reasons. First, they work on almost any fabric, including cotton, polyester, blends, and even leather. No need for pre-treatment or special coatings. Second, they produce incredibly detailed, full-color images with fine lines and gradients, perfect for photographic designs. Third, they're cost-effective for small to medium runs since you don't need screens or setup fees. And unlike vinyl, DTF transfers stretch with the fabric without cracking, offering excellent durability.
The DTF Transfer Process Step by Step
Understanding the workflow helps you troubleshoot and perfect your technique. Here's what happens from design to finished product.
1. Design Preparation
Start with a high-resolution image. Remember that DTF printers use CMYK+White, so colors may appear slightly different than on your screen. For best results, convert your design to a CMYK color profile and ensure any white areas are set to print with white ink (if needed). Also, mirror your design horizontally before printing, as the transfer will be flipped when pressed.
2. Printing and Powdering
Load the DTF film into your printer and print. Immediately after printing, while the ink is wet, sprinkle the adhesive powder evenly over the design. Shake off excess powder, then cure the transfer using a heat press or oven at the recommended temperature (usually around 160°C/320°F for 2-3 minutes). This melts the powder and creates a bond.
3. Heat Press Application
Set your heat press to the temperature and time recommended for your fabric and transfer. Typically, 160°C (320°F) for 15-20 seconds with medium pressure. Place the transfer on the garment, cover with a protective sheet (like parchment paper or a Teflon sheet), and press. After pressing, let it cool completely before peeling the film. Peeling while hot can cause the design to distort.
4. Post-Pressing for Durability
For added durability, especially on stretchy fabrics, do a second press after peeling. Cover the design with a protective sheet and press again for 5-10 seconds. This ensures the adhesive fully penetrates the fibers.
Common Pitfalls and How to Avoid Them
Even experienced users encounter issues. Here are some frequent problems and their solutions.
- Peeling or cracking: Usually caused by insufficient pressure, wrong temperature, or too short a press time. Always test your settings on a scrap fabric.
- Dull colors: Might be due to outdated ink, low ink density, or not enough white ink layering. Check your printer settings and ink levels.
- Powder not sticking: If the ink dries before powdering, the powder won't adhere. Work quickly and ensure your printer's ink is wet when powdering.
- Transfer not adhering to fabric: Some fabrics like nylon or treated polyester require lower temperatures or special low-temp transfers. Always check compatibility.
Choosing the Right Materials
Not all DTF films and powders are created equal. For best results, use high-quality films designed for DTF printing. Cheaper films may cause ink bleeding or poor release. Similarly, the adhesive powder should be specifically for DTF; using other powders can lead to clogged printers or weak bonds. Also, consider the mesh of the powder: finer powders work well for detailed designs, while coarser powders provide stronger adhesion for large blocks of color.
Ink and Printer Maintenance
DTF printers require regular maintenance to keep colors vibrant and prevent clogs. Use a dedicated DTF printer or convert an eco-solvent printer with DTF inks. Clean the printhead daily and shake ink cartridges regularly to prevent settling. Proper storage of films and powders in a cool, dry place also extends their shelf life.
Creative Applications Beyond T-Shirts
While t-shirts are the most common canvas, DTF transfers open doors to many other products. You can decorate canvas shoes, denim jackets, tote bags, pillow covers, and even wood or metal (with appropriate adhesives). The ability to print on demand means you can personalize items for events, gifts, or small businesses without inventory risk.
Frequently Asked Questions About DTF Transfers
Can I use DTF transfers on 100% polyester?
Yes, DTF transfers work well on polyester. However, polyester requires lower pressing temperatures (around 140-150°C) to avoid scorching or dye migration. Use a low-temperature DTF powder and test first.
How long do DTF transfers last?
With proper application and care, DTF transfers can last as long as the garment itself. Wash inside out in cold water and avoid harsh detergents or bleach. Tumble dry low or hang dry.
Do I need a special printer for DTF?
You can use a dedicated DTF printer or convert a standard inkjet printer with DTF inks and a bulk ink system. However, dedicated printers are optimized for DTF and often yield better results with less hassle.
What is the difference between DTF and DTG?
DTG (Direct to Garment) prints directly onto the fabric, while DTF prints onto a film that is then transferred. DTF works on more fabric types and doesn't require pre-treatment, but DTG can be more cost-effective for large runs on cotton.
Can I layer DTF transfers?
Yes, you can layer DTF transfers to create multi-color designs. Press the first layer, peel, then press the next layer on top. Use a protective sheet between layers to prevent sticking.
Mastering DTF transfers takes practice, but the rewards are worth it. With the right techniques and materials, you can produce stunning, durable prints that impress customers and elevate your craft. Start with small tests, refine your process, and soon you'll be creating professional-grade apparel from the comfort of your studio.