
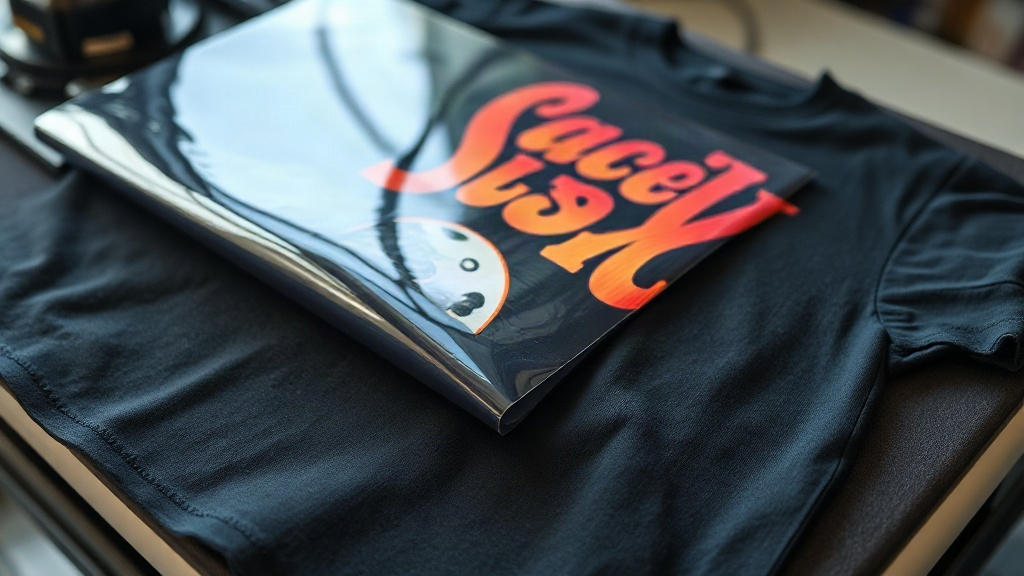
When you first hear about DTF Transfers, you might wonder if it's just another printing acronym. But this technology has quietly become a game-changer for anyone who decorates apparel, from small business owners to hobbyists. Unlike traditional methods that limit your fabric choices or require costly setup, DTF transfers offer a versatile, accessible way to produce full-color designs that last. In this guide, we'll walk through the entire process, share practical tips, and help you decide if DTF is right for your next project.
What Are DTF Transfers?
DTF stands for Direct-to-Film. It's a printing method where your design is printed onto a special PET film using a DTF printer, then coated with a thermoplastic adhesive powder. After the powder is cured, the transfer is ready to be applied to fabric using a heat press. The magic happens when heat and pressure bond the adhesive to the fabric fibers, creating a strong, flexible bond that holds up wash after wash.
What sets DTF Transfers apart is their ability to print on virtually any fabric, including cotton, polyester, blends, and even nylon. That's a stark contrast to DTG (Direct-to-Garment), which works best on 100% cotton, or vinyl, which can be limited in color and detail. DTF also eliminates the need for weeding, a time-consuming step in vinyl cutting that many beginners dread.
The DTF Printing Process Step by Step
- Design Preparation: Your artwork is prepared in a RIP software, which mirrors the image and adjusts color settings for optimal transfer.
- Printing: The DTF printer lays down a layer of white ink, followed by CMYK colors, onto the film. This white base is crucial for opacity on dark fabrics.
- Powdering: While the ink is still wet, a hot-melt adhesive powder is sprinkled over the design. The film is then shaken to remove excess powder.
- Curing: The powder-covered film goes through a curing oven or under a heat press to melt the powder into a smooth, adhesive layer.
- Transfer: The cured film is placed on the garment and pressed with a heat press at around 160°C (320°F) for 15-20 seconds. After cooling, the film is peeled away, leaving the design bonded to the fabric.
Why Choose DTF Transfers Over Other Methods?
If you're comparing decoration options, DTF offers several compelling advantages that can save you time and expand your creative possibilities.
- Fabric Freedom: No need to stock separate inks or papers for different materials. One DTF transfer works on cotton, polyester, blends, and more.
- Vibrant Colors: DTF printers use CMYK plus white, producing bright, detailed prints with smooth gradients. The white underbase ensures colors pop on dark garments.
- Durability: When applied correctly, DTF prints resist cracking, fading, and peeling. They can outlast the garment itself.
- No Weeding or Masking: Unlike vinyl, there's no tedious cutting and weeding. This makes DTF ideal for intricate designs and small text.
- Low Startup Cost: You don't need a full DTG setup or screen printing equipment. A DTF printer and heat press are all you need.
That said, DTF isn't perfect for every scenario. For very stretchy fabrics like spandex, the print may feel slightly stiff. And while the cost per print is low for small runs, high-volume orders might be more economical with screen printing. But for custom, one-off designs, DTF is hard to beat.
DTF vs. DTG vs. Vinyl: A Quick Comparison
To help you decide, here's how DTF stacks up against two popular alternatives:
- DTG: Best for 100% cotton, soft hand feel, but limited to light colors unless you pretreat. DTF works on more fabrics and requires no pretreating.
- Vinyl: Great for simple, single-color designs, but multi-color designs require layering and weeding. DTF handles full-color graphics in one step.
Getting Started with DTF Transfers: Essential Tips
Ready to dive in? These practical tips will help you avoid common pitfalls and achieve professional results.
1. Invest in Quality Supplies
Not all DTF films and powders are created equal. Cheaper films can cause ink bleeding or poor adhesion. Look for films with a consistent coating and powders with a fine particle size. Your printer's printhead also matters: a dedicated DTF printer with a white ink circulation system prevents clogs and ensures consistent output.
2. Master the Heat Press Settings
Temperature, pressure, and time are critical. Too little heat and the transfer won't adhere; too much and you'll scorch the fabric or melt the film. Start with 160°C (320°F) for 15 seconds at medium pressure. Always test on a scrap piece of fabric before pressing your final garment. And remember: every heat press runs slightly differently, so calibrate yours with a temperature gun.
3. Handle Transfers with Care
Once cured, DTF transfers should be stored in a cool, dry place away from direct sunlight. Avoid touching the adhesive side, as oils from your skin can weaken the bond. When you're ready to apply, use a lint roller on the garment to remove any debris that could interfere with adhesion.
4. Perfect Your Peeling Technique
After pressing, let the transfer cool completely before peeling. This is known as a cold peel. If you peel while hot, the design may stretch or lift. For best results, place a Teflon sheet over the transfer during pressing to protect it from direct heat.
Common Mistakes to Avoid with DTF Transfers
Even experienced printers run into issues. Here are the most frequent problems and how to fix them.
- Insufficient Pressure: If the transfer peels off after washing, your pressure might be too low. Increase it gradually until the design adheres firmly.
- Too Much Powder: Excess adhesive powder can create a rough texture and cause the print to feel stiff. Shake off any excess thoroughly after powdering.
- Wrong Fabric: While DTF works on many fabrics, it's not ideal for highly stretchable or heat-sensitive materials. Always test first.
- Improper Curing: Under-cured powder won't bond properly; over-curing can make the film brittle. Follow your powder's recommended curing temperature and time.
Frequently Asked Questions About DTF Transfers
How long do DTF transfers last on a shirt?
With proper application and care, DTF transfers can last as long as the garment itself. Wash the shirt inside out in cold water and avoid using bleach or fabric softener. Tumble dry on low or hang dry to maximize longevity.
Can I use DTF transfers on dark colors?
Absolutely. DTF printers lay down a white ink base before the CMYK colors, which makes the design opaque and vibrant even on black or navy fabrics. This is one of the key advantages over DTG, which often requires a white underbase pretreatment.
Do I need a special printer for DTF?
Yes, you need a DTF printer that uses DTF inks and has a white ink channel. You can convert some inkjet printers, but dedicated DTF printers are recommended for reliability and print quality. They also have powder shakers and curing ovens as part of the workflow.
Is DTF more expensive than vinyl?
For small, single-color designs, vinyl can be cheaper. But for full-color, complex designs, DTF is often more cost-effective because it eliminates weeding and layering. The cost per print also decreases with volume, making DTF competitive for both small and large runs.
What fabrics work best with DTF transfers?
DTF adheres well to cotton, polyester, cotton-poly blends, and even some nylons. It's not recommended for fabrics with a high spandex content or those with a water-repellent coating, as the adhesive may not bond properly.
Final Thoughts
DTF transfers have opened up a world of possibilities for custom apparel. Whether you're a small business owner looking to offer vibrant, durable prints or a hobbyist wanting to experiment with different fabrics, DTF provides a flexible, cost-effective solution. By following the tips in this guide and avoiding common mistakes, you'll be well on your way to producing professional-quality garments that your customers will love. So why not give DTF a try? Your next custom creation might just be your best one yet.