
If you have been exploring custom apparel printing, you have likely encountered dtf technology. Direct-to-Film printing has quickly become a favorite among professionals and hobbyists alike for its versatility and vibrant results. Unlike traditional methods that require specific fabrics or extensive setup, dtf transfers offer a streamlined approach to creating detailed, full-color designs on a wide range of materials. In this guide, we will walk you through the entire process, from understanding the technology to applying transfers like a pro, so you can elevate your custom apparel game.
What Are DTF Transfers?
DTF stands for Direct-to-Film. It is a printing method where your design is printed onto a special film, coated with a adhesive powder, and then heat-pressed onto the fabric. The result is a soft, stretchable, and durable print that can handle intricate details and gradients. Unlike DTG (Direct-to-Garment) printing, which requires pre-treatment and works best on cotton, DTF can be applied to cotton, polyester, blends, and even nylon, making it incredibly versatile.
The process begins with creating a digital design. This design is printed onto a PET film using specialized DTF inks (usually CMYK plus white). After printing, a fine layer of hot-melt adhesive powder is applied to the wet ink. The film is then cured, and the transfer is ready to be applied. When you are ready, you simply place the transfer on your garment, apply heat and pressure with a heat press, and peel away the film. The result is a vibrant, long-lasting print that feels soft to the touch.
Why Choose DTF Transfers?
There are several compelling reasons why DTF has gained such popularity. First and foremost is the ability to print on a wide variety of fabrics. Whether you are working with 100% cotton t-shirts, polyester jerseys, or even canvas bags, DTF transfers adhere beautifully. This eliminates the need to stock multiple types of transfer papers or adjust your process for different materials.
Another key advantage is the level of detail you can achieve. DTF printers can reproduce fine lines, small text, and complex gradients with impressive accuracy. This makes them ideal for photographic designs, logos with fine details, and intricate patterns. Additionally, DTF transfers are known for their durability. When applied correctly, they can withstand repeated washing without cracking, peeling, or fading, ensuring your custom apparel looks great for a long time.
Cost-effectiveness is also a factor. While the initial investment in a DTF printer and supplies might seem high, the cost per print is often lower than other methods, especially for short runs. You can print one-off designs without the setup costs associated with screen printing, making DTF a great option for small businesses, crafters, and anyone who wants to create custom items on demand.
The DTF Printing Process Step by Step
To get started with DTF, you will need a few key pieces of equipment: a DTF printer, DTF ink, PET film, hot-melt adhesive powder, and a heat press. The process itself is straightforward but requires attention to detail to achieve professional results.
Design Preparation
First, create your design using graphic software like Adobe Photoshop or Illustrator. Remember to mirror the image horizontally before printing, as the transfer will be flipped when applied. Also, ensure your design is in CMYK color mode, as DTF printers use CMYK inks. If your design has white areas, the printer will automatically add a white underbase, which is essential for vibrant colors on dark garments.
Printing
Load the PET film into your DTF printer and send the job. The printer will lay down the white ink first (if needed) and then the color inks. The wet ink is then dusted with hot-melt adhesive powder. You can do this manually or use a powder shaker machine. Gently shake off excess powder, ensuring an even coating. The film is then placed in a curing oven or under a heat press for a short time to melt the powder and set the ink. This step is crucial; under-curing can lead to poor adhesion, while over-curing can make the transfer brittle.
Application
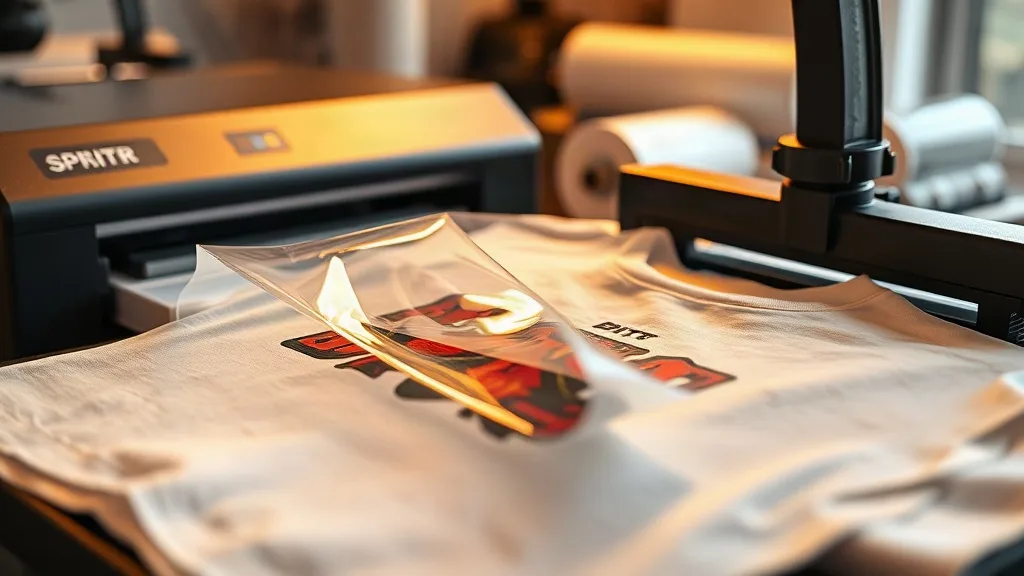
Once your transfer is cured, it is ready to apply. Set your heat press to the recommended temperature (usually around 160°C or 320°F) and pressure (medium to firm). Place the garment on the press, position the transfer with the design facing up, and press for 10-15 seconds. Then, remove the garment from the press and peel the film while it is still warm (warm peel) or after it has cooled (cold peel), depending on the film type. Finally, cover the design with a sheet of parchment paper or Teflon and press again for a few seconds to ensure maximum adhesion.
Common Challenges and How to Overcome Them
Even with a good understanding of the process, you might encounter some issues. Here are a few common problems and their solutions:
- Insufficient adhesion: This often results from under-curing the powder or not enough pressure during application. Increase curing time or pressure, and ensure the powder is melted completely.
- Cracking or peeling after washing: This can happen if the transfer was not applied with enough heat or if the garment was washed incorrectly. Always wait 24 hours before washing, and turn the garment inside out. Use cold water and avoid harsh detergents.
- Dull colors: If your prints look faded, check your white ink layer. On dark garments, a thick white underbase is essential. Also, ensure your printer is properly maintained and the ink is fresh.
By troubleshooting these issues, you can achieve consistent, high-quality results.
Applications of DTF Transfers
DTF transfers are incredibly versatile and can be used for a wide range of applications. They are perfect for custom t-shirts, hoodies, tote bags, caps, and even shoes. Because they can adhere to difficult fabrics like nylon and leather, they open up possibilities for personalized accessories and promotional items. Small businesses often use DTF to create branded merchandise, while individuals love it for making custom gifts. The ability to print full-color designs without minimum order quantities makes DTF ideal for on-demand printing.
Tips for Success with DTF Transfers
To ensure your DTF transfers look professional and last long, follow these tips:
- Invest in quality supplies: Use reputable DTF inks, films, and powders. Cheaper alternatives may save money upfront but can lead to poor results and more waste.
- Maintain your printer: Regular cleaning and maintenance of your DTF printer are essential to prevent clogged nozzles and ensure consistent prints.
- Test your settings: Every heat press is different, so experiment with temperature, pressure, and time to find the perfect settings for your setup.
- Store transfers properly: Keep unused transfers in a cool, dry place, away from direct sunlight. They can last for months if stored correctly.
- Educate your customers: If you sell custom apparel, provide care instructions to your customers to ensure the prints last. Recommend washing inside out in cold water and avoiding ironing directly on the design.
Frequently Asked Questions
What fabrics can I use with DTF transfers?
DTF transfers work on a wide range of fabrics, including cotton, polyester, cotton-poly blends, nylon, leather, and even some treated woods. They are especially popular for materials that are difficult to print on with other methods.
How long do DTF transfers last?
When applied correctly and cared for properly, DTF transfers can last as long as the garment itself. They are durable and resistant to cracking, peeling, and fading. Following the recommended washing instructions will help prolong their life.
Do I need a special printer for DTF?
Yes, DTF printing requires a dedicated DTF printer that uses DTF inks and can handle PET film. However, you can also purchase pre-printed DTF transfers from suppliers if you don't want to invest in a printer.
Can I apply DTF transfers with a home iron?
While it is possible to apply DTF transfers with a home iron, it is not recommended. A heat press provides consistent temperature and pressure, which are crucial for proper adhesion. Using an iron may result in uneven results and poor durability.
What is the difference between DTF and DTG?
DTF (Direct-to-Film) involves printing on a film and then transferring to the garment, while DTG (Direct-to-Garment) prints directly onto the fabric. DTF works on more fabric types and often produces more vibrant colors on dark garments, while DTG is limited mostly to cotton and requires pre-treatment.
As you can see, DTF transfers offer a powerful and flexible solution for custom apparel printing. Whether you are a business owner looking to expand your product offerings or a hobbyist wanting to create unique items, mastering DTF can open up a world of possibilities. With the right equipment, supplies, and techniques, you can achieve professional-quality results that impress your customers and keep them coming back for more.